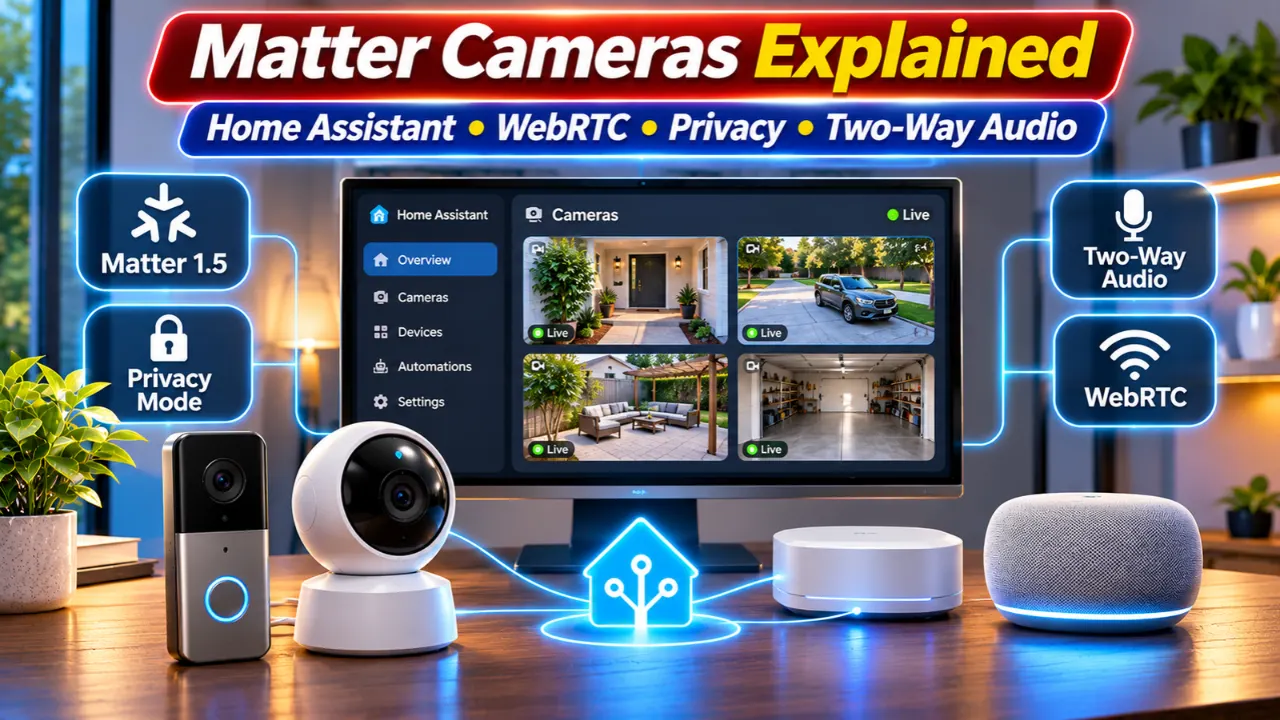
Matter cameras are finally becoming practical for DIY smart home enthusiasts. With Home Assistant 2026.11, support for Matter cameras has officially arrived, allowing compatible security cameras to appear directly inside Home Assistant with live video, snapshots, privacy status, and even early support for two-way audio. For users building a local-first smart home, this marks one of the biggest Matter upgrades since the standard launched.
For U.S. homeowners, the timing is important. More camera manufacturers are beginning to ship Matter-compatible devices, while Home Assistant’s latest release removes many of the setup limitations that previously kept users dependent on separate vendor apps. Here’s what changed, how to add a Matter camera, and what you should know before buying one.
Read Also-Home Assistant 2026.11 Is Here: Biggest Update Yet Explained
What’s New with Matter 1.5 Camera Support?
Matter 1.5 introduced native support for connected security cameras, but practical adoption depended on smart home platforms implementing those features. Home Assistant 2026.11 is one of the first major DIY platforms to fully expose Matter cameras inside its interface.
The latest implementation includes:
- Live camera streaming using WebRTC
- Still image snapshots
- Privacy Mode status
- Camera entities inside Home Assistant
- Labs preview for Two-Way Audio
- Improved local smart home integration
Instead of relying entirely on cloud services, compatible cameras can now stream video directly between the camera and your browser using WebRTC, reducing latency and keeping more traffic local.
How to Add a Matter Camera to Home Assistant
Before adding a camera, verify that both your software and hardware meet the requirements.
Requirements
You’ll need:
- Home Assistant 2026.11 or newer
- Latest Matter Server
- A Matter 1.5 compatible camera
- Updated camera firmware
- Matter integration installed
- Home Assistant Companion App (Android or iPhone)
Setup Steps for Matter Camera
- Update Home Assistant to the latest release.
- Update the Matter Server.
- Install any available firmware updates for the camera.
- Open Settings → Devices & Services.
- Add the Matter integration if it isn’t already installed.
- Pair the camera using its Matter QR code or share it from another Matter ecosystem.
- Wait for discovery to complete.
If everything is configured correctly, the camera will appear as a standard camera entity with live streaming and snapshots. Home Assistant only discovers Matter cameras when the connected Matter Server supports the new camera specification.
Read Also-Best Smart Home Deals Black Friday 2026: Buy Now or Wait?
Live WebRTC Video, Privacy Mode and Two-Way Audio
One of the biggest improvements is native WebRTC streaming.
Instead of routing video through external cloud services, Home Assistant can establish a direct browser-to-camera connection for live viewing. This reduces delay while improving responsiveness on local networks.
Other useful features include:
- Privacy Mode indicator that mirrors the camera’s privacy status.
- Live snapshots directly inside dashboards.
- Two-Way Audio (Labs Preview) for supported cameras.
- Talk button available on compatible devices.
At launch, two-way audio is supported for Matter cameras and selected Reolink cameras. Browser microphone access currently requires HTTPS for security reasons.
Which Matter Cameras Are Worth Buying?
The Matter camera ecosystem is still growing, but support is expanding steadily.
Before purchasing, look for:
- Matter 1.5 certification
- Regular firmware updates
- WebRTC compatibility
- Local streaming support
- Privacy controls
- Vendor commitment to Matter updates
Many buyers are also checking whether cameras support Matter over Wi-Fi while continuing to offer advanced features through the manufacturer’s app.
If you’re investing in a new smart home, choosing devices that support Matter can reduce ecosystem lock-in and make future upgrades easier.
DIY Tips Before You Upgrade
A few best practices can save time during installation.
- Update the camera firmware before pairing.
- Keep Home Assistant and Matter Server on current versions.
- Use HTTPS if you plan to enable two-way audio.
- Test live video before creating automations.
- Leave the vendor app installed for advanced camera settings that Matter may not yet expose.
Because Matter camera support is still evolving, some advanced features—such as pan, tilt, or manufacturer-specific AI detection—may still require the original companion app, depending on the camera model.
How to Add a Matter Camera Successfully
Follow this quick checklist:
- Update Home Assistant to version 2026.11 or newer.
- Update the Matter Server.
- Install the latest camera firmware.
- Pair the camera through Matter.
- Verify live WebRTC streaming.
- Enable Two-Way Audio (Labs) if supported.
- Build automations using the new camera entity.
Completing these steps ensures you’ll have the best chance of using the latest Matter camera features without unnecessary troubleshooting.
Final Thoughts
Matter camera support has finally reached a point where DIY smart home users can begin building more unified security systems inside Home Assistant. With native Matter 1.5 camera support, live WebRTC streaming, privacy mode visibility, and early two-way audio integration, the latest Home Assistant release significantly improves the experience for users who prefer local control over cloud-only solutions.
While the ecosystem is still maturing, homeowners planning new smart home installations should pay close attention to Matter compatibility when choosing future security cameras. As more manufacturers adopt the standard, Home Assistant users will benefit from simpler setup, broader interoperability, and a smarter local-first home automation platform.
Read Also-Wyze Lever Lock Review: Should You Buy This New Fingerprint Smart Lock?